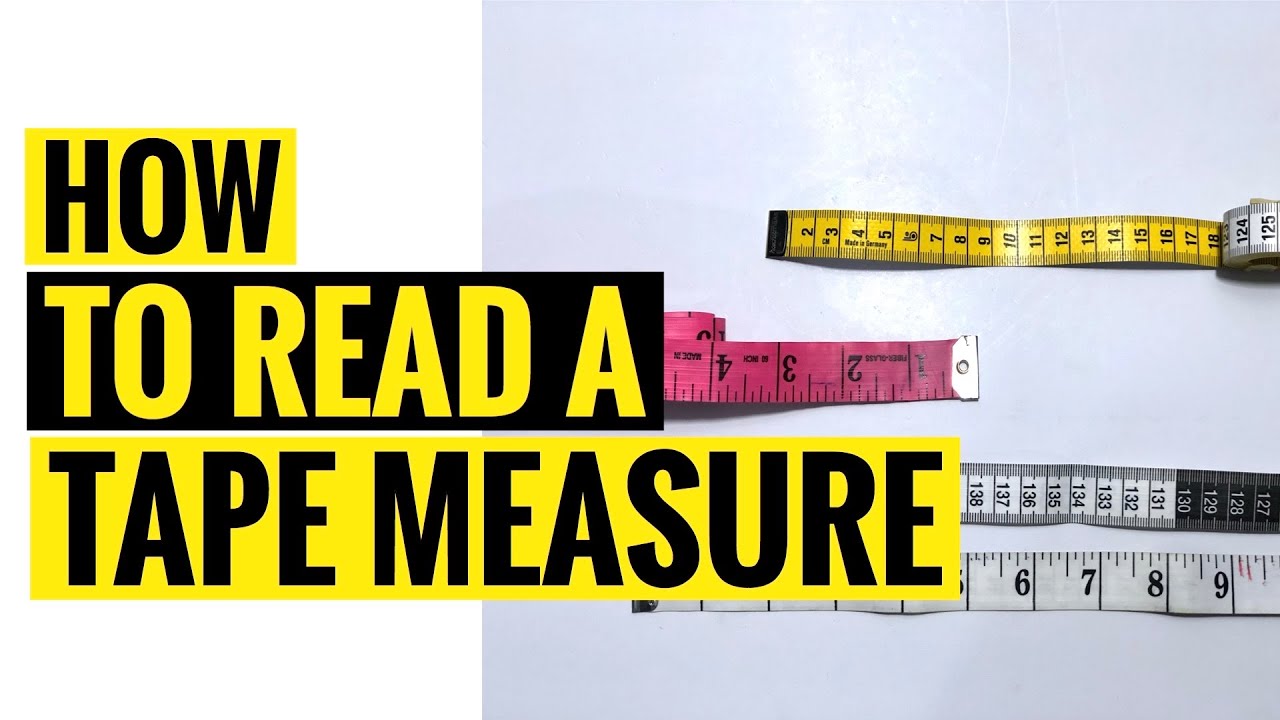
You are holding a how to read a tape measure, staring at a blade covered in tiny lines of different lengths. You need one measurement, just one, before you cut an expensive piece of wood. But those little marks between the numbers look like a secret code, and getting it wrong means ruining the whole thing.
So you guess. Or you eyeball it. And somewhere deep down, you know that “close enough” is about to cost you.
Here is the good news. Reading a tape measure is far easier than it looks. Once someone shows you the simple pattern behind those confusing lines, you will read any measurement in seconds, down to the tiny fraction.
There is also a strange feature on every tape measure that confuses almost everyone. The metal hook at the end wiggles and slides, and most people assume it is broken. It is not. In fact, that little wiggle is a clever design that helps you measure accurately, and I will explain exactly why.
I will walk you through the whole tape measure, the marks, the fractions, the secret symbols, and the pro tips. By the end, you will measure with total confidence. Let’s decode it.
How to Read a Tape Measure: The Anatomy of a Tape Measure
Before reading measurements, it helps to know the parts you are working with. A standard tape measure has a few key pieces, and each one matters.
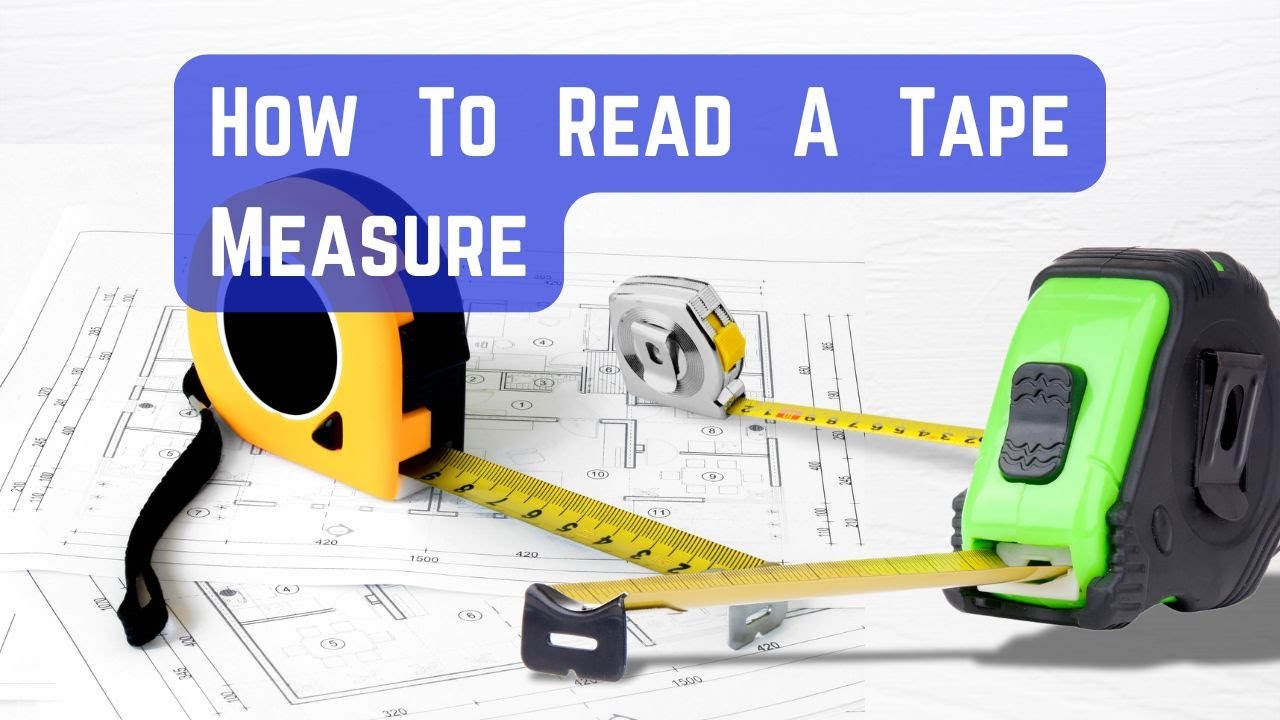
The long, flexible metal strip is called the blade. It usually pulls out from a case and retracts back in with a spring. On the blade you will find the numbers and lines that make up the measurements. Most tape measures made for this region show inches and feet, though many also include a metric side.
At the very end of the blade is a small metal hook, sometimes called the tang. You catch this on the edge of whatever you are measuring. Many tapes also have a lock button that holds the blade in place so it does not snap back while you read it.
Understanding these parts sets you up for everything else. The blade shows the measurement, the hook anchors your starting point, and the lock keeps things steady. Now let’s tackle those mysterious lines on the blade, because that is where people get stuck.
You can also read about Toyota Lease Deals.
Understanding the Inch Marks
This is the heart of reading a tape measure, and it is simpler than it appears. The secret is that the lines follow a clear pattern based on their length. Once you see it, the code breaks open.
Start with the biggest marks. The longest lines, usually with a number beside them, are the full inches. Easy enough. Now look at the line exactly halfway between two inch marks. It is the second-longest line, and it marks the half inch. Everything builds from there.
The pattern keeps dividing in half. The next shorter lines mark the quarter inches, at one quarter and three quarters of the way across. Shorter lines still mark the eighth inches, and the very shortest lines mark the sixteenth inches, the smallest marks on most standard tapes. So the rule is simple: the longer the line, the bigger the fraction.
Here is my honest tip, and it removes all the fear. Do not try to memorize every single line. Just remember the hierarchy. Longest is the inch, then half, then quarter, then eighth, then the tiny sixteenth. When you see the marks as a ladder of halves, reading them becomes automatic. Let’s put that into practice.
How to Read a Measurement Step by Step
Knowing the marks is one thing. Reading an actual measurement is where it clicks. Let’s go through it simply, with a real example.
First, find the last full inch before your endpoint. Say your measurement lands past the 5-inch mark but before 6 inches. Your answer starts with 5 inches. That is your whole number, and it is the easy part.
Next, count the small lines past that inch mark to your endpoint. Look at how far the point sits and match it to the fraction. For example, if it lands on the second-longest line past the 5, that is the half-inch mark, so your measurement is 5 and one half inches. If it lands three small sixteenth-lines past the 5, that reads as 5 and three sixteenths inches.
The trick that makes this fast is naming the fraction by the line’s length. A long midpoint line means a half. A shorter one means a quarter. The tiniest one means a sixteenth. As a practical example, a measurement that sits one tiny line before the 4-inch mark reads as 3 and fifteen-sixteenths inches. With a little practice, you will read these at a glance. But there is one part of the tape that confuses nearly everyone.
The Sliding Hook Isn’t Broken
Here is the feature that makes people think their tape measure is defective, and almost no one explains it. That metal hook at the end of the blade moves back and forth a little. It is loose on purpose.
Do not try to fix it or tighten it. That tiny bit of play is a deliberate, brilliant design. The hook slides by exactly its own thickness, which is usually about a sixteenth of an inch. This clever detail makes your measurements accurate whether you are pushing or pulling.
Think about how you use it. When you hook the tape onto the outside edge of a board and pull, the hook slides out to account for its own thickness, giving you a true measurement. When you push the tape into an inside corner, the hook slides in by that same amount. Either way, you get an accurate reading from a true zero. Without this feature, every measurement would be off by the thickness of the metal hook.
So the next time your tape’s hook wiggles, smile instead of worrying. It is working exactly as intended. If you ever cannot hook onto an edge, there is a pro trick called “burning an inch,” where you start measuring from the 1-inch mark instead, then subtract one inch from your reading. Just remember to subtract, or your measurement will be off. Speaking of pro secrets, some marks on your tape are pure contractor knowledge.
Those Red Numbers and Black Diamonds
Look closely at your tape measure, and you may spot some numbers in red and small black diamond shapes. These puzzle most casual users, but they are incredibly useful once you know them. They are built for construction.
The red numbers usually appear every 16 inches, at 16, 32, 48, and so on. That is because 16 inches is the standard spacing between wall studs in home construction. So when framing a wall, a builder can quickly find each stud location by looking for the red numbers, no math required. It is a huge time-saver on the job.
The black diamonds, sometimes called black diamonds or stud marks, appear at intervals of about 19.2 inches. These mark a spacing used for floor joists and roof trusses in certain layouts, where a slightly wider spacing still provides strength. There are typically several diamonds across a long tape.
You may never need these marks for hanging a picture frame. But if you ever do any framing or building, they turn your tape into a specialized layout tool. Knowing what they mean instantly makes you look like you know your way around a job site. Now let’s cover the bigger units and the other side of the tape.
Feet, Inches, and the Metric Side
Beyond the inch marks, your tape measure handles larger measurements and often a whole second system. Understanding both makes you versatile.
For longer measurements, tapes mark the feet along the blade. Every 12 inches equals one foot, and the tape usually notes this, often with a label like “1F” or a bolder marking at each foot. So a measurement might read as 3 feet, 4 and one-half inches. Just remember that once you pass 12 inches, you can start counting in feet to keep things simple on big jobs.
Many tape measures also include a metric side, showing centimeters and millimeters. The metric system is beautifully simple because it works in tens. Ten millimeters make one centimeter, and one hundred centimeters make one meter. There are no fractions to count; just count the small millimeter lines. Some people find this side much easier for that reason.
Which side should you use? It depends on your project and where you live. If a plan is written in inches, use the imperial side. If it uses centimeters, flip to the metric side. Do not mix the two on one project, since that is a common and costly mistake. Whichever you choose, a few habits will keep you accurate.
Tips for Measuring Accurately
Reading the tape correctly is only half the battle. Measuring well is the other half. These simple habits prevent frustrating errors.
The oldest rule in the trade still holds: measure twice, cut once. Double-checking a measurement takes two seconds and saves you from wasting materials. It is the single easiest way to avoid costly mistakes, and even seasoned pros do it every time.
Keep the tape straight and flat when you measure. A tape that sags, twists, or bends will give you a longer, wrong reading. For long measurements, make sure the blade lies flat against the surface the whole way. Also, hook the tape firmly onto your starting edge so it does not slip, and read the measurement with your eye directly above the mark to avoid a skewed angle.
Finally, mark your measurement with a small “V” shape rather than a single dot, with the point of the V showing the exact spot. It is far more precise than a fat pencil dot. Looking ahead, digital tape measures with instant readouts are becoming more common, and they can be handy, though learning to read a standard tape is a skill that will always serve you well. The classic tool is not going anywhere.
You can also read about How to Fix a Running Toilet.
Conclusion
Those confusing little lines are not a secret code anymore. You can now read any measurement on a tape measure, right down to the sixteenth of an inch.
Keep the key points in mind. The longer the line, the bigger the fraction, running from inches down to halves, quarters, eighths, and sixteenths. The sliding hook is not broken; it is a clever feature for accurate measuring. And those red numbers and black diamonds are handy guides for construction spacing.
Above all, remember the golden habit. Measure twice, keep the tape straight, and read carefully. A tape measure is only as accurate as the person using it, and now that person is you.
Here is your one clear next step. Grab your tape measure right now and practice on a few objects around you: a book, a table, a doorway. Read each measurement down to the nearest fraction, and within minutes it will feel like second nature.
So tell me, what project has you reaching for a tape measure, a bit of home DIY, some furniture building, or your first real construction job?